Please note:
This project is neither ran by Ultimaker nor ran by any other company or 3rd-party. This includes time spent on maintaining the project, making corrections across other projects and distributing the software.
Therefore please consider giving some kind of support.
Thanks!
Step by step guide
The installation of Cura using the package manager is fairly easy. In the following steps, I will explain how to get it done.
Looking for the installation instructions? You can find them here!
Method 1: Using ppa-purge
- Take a terminal like Konsole or any other, which is installed on your computer. Most of the terminals look the same but differ only in their usage. However, since we are using only the basic functionality, it won’t matter which one we take. After opening the terminal, you should be able to see something like this
- Type in
sudo ppa-purge ppa:thopiekar/cura
and follow the instructions in the terminal. This command will remove the Cura PPA from the list of repositories of your package manager and remove all packages, which have been installed from there before. To uninstall the master PPA the commandsudo ppa-purge ppa:thopiekar/cura-master
is needed instead. - Since Ubuntu 18.04 (Bionic Beaver) Cura is also available in the software repositories of Ubuntu. You will need to execute
sudo apt remove cura
to uninstall Cura completely. - Now you successfully uninstalled Cura!
Method 2: Using synaptic
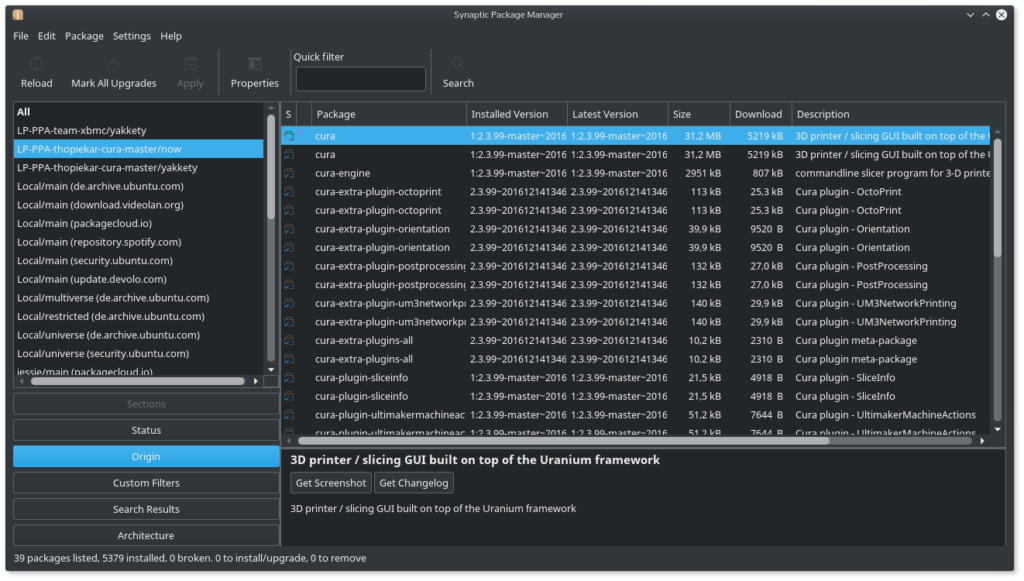
Using Synaptic you can easily see where your installed packages are from. In our case, you can easily select the PPA and remove all packages from there. For more info on using Synaptic search the web for manuals. There are enough around…

Method 3: Apt-Pinning
An easy method for advanced users is to change the PPAs priority using APT pinning. While choosing a low “Pin-Priority” you can even tell APT to avoid a repository, if needed. Using a low here will tell APT to downgrade to the Ubuntu packages.