These instructions should work generally work and it shouldn’t matter to much which version of Cura you are using. You will find instructions for the most recent Cura version on top of this page.
Contents
There are different ways of installing the plugin and also instructions for older versions:
Ultimaker’s marketplace
- Open Cura and open the marketplace by the button in the upper right corner

- Within the marketplace choose the plugin you want to install. Among with my plugins, there are also many others including materials, which are worth to check and install!
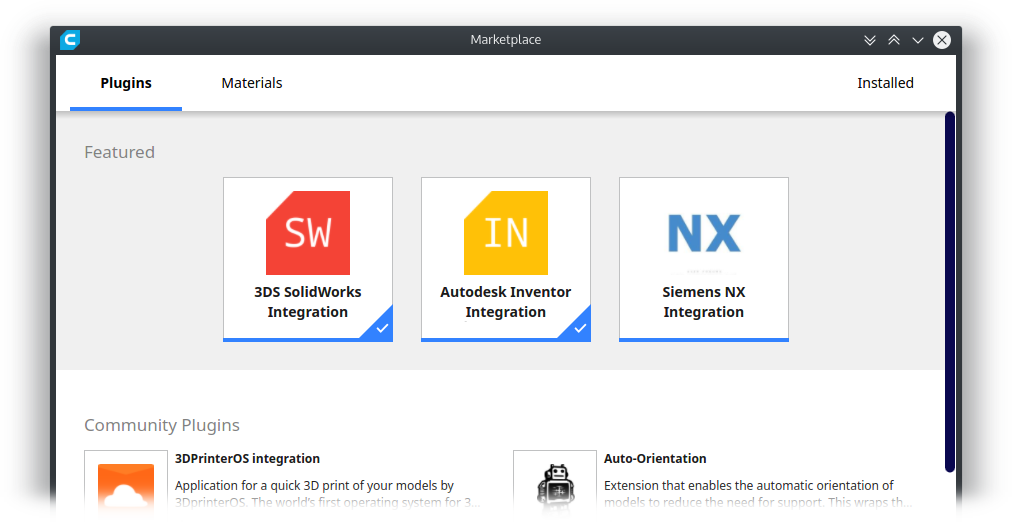
- Choose a plugin from the marketplace, which is not installed so far.
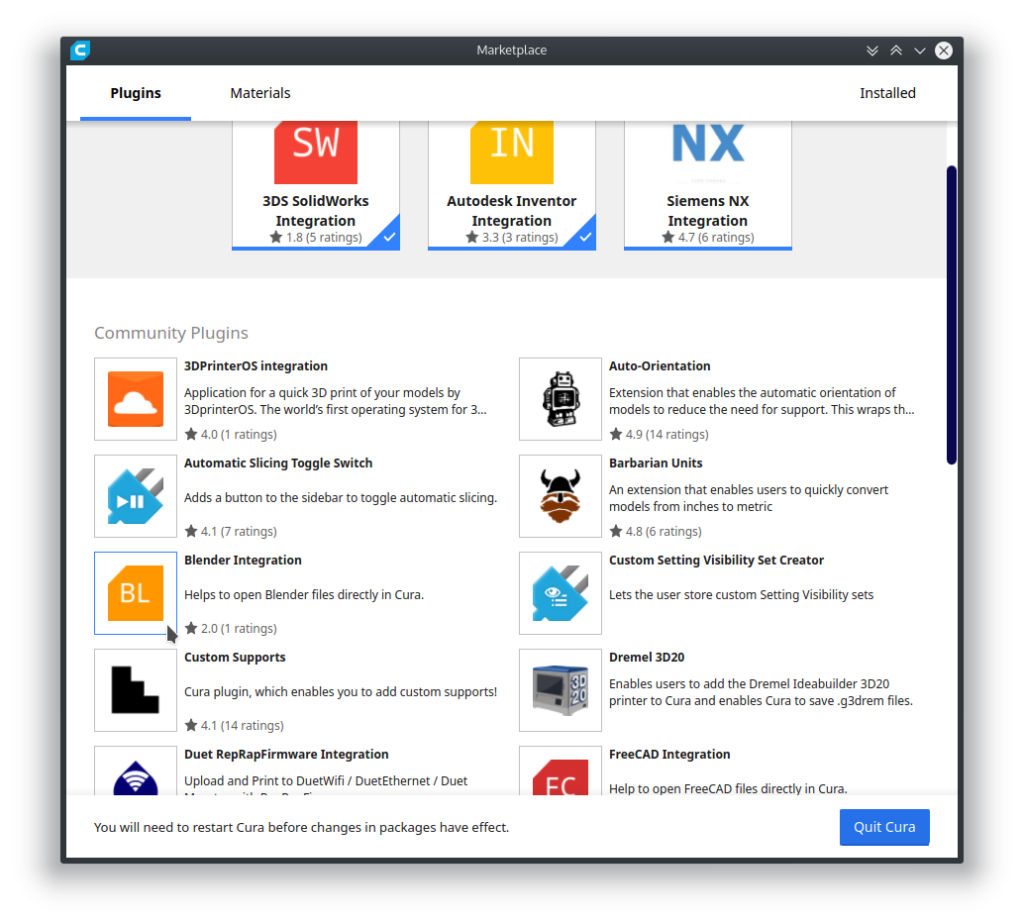
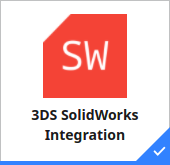
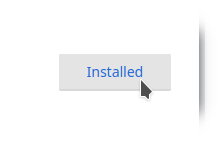
- Plugins, which are marked in the lower right corner by a check, are installed already.
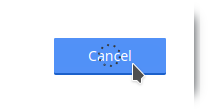
- Click on the icon of the plugin you want to install.
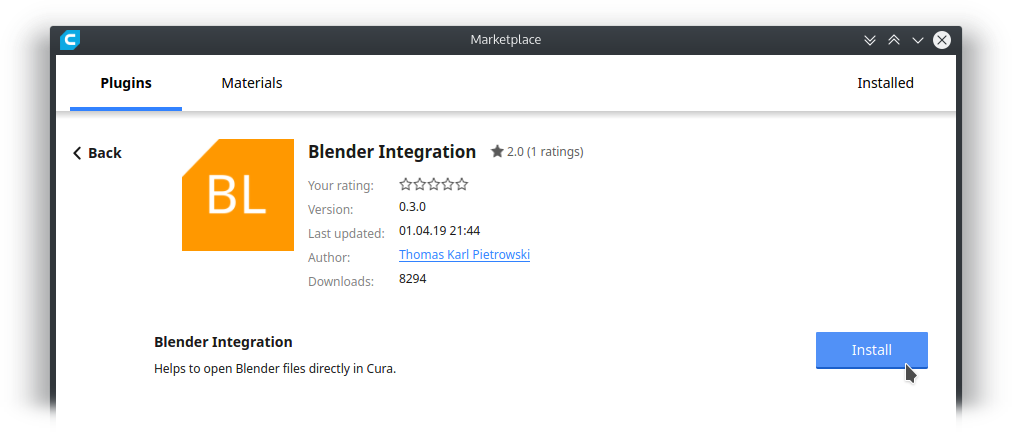
- Wait until the installation is done.
- After installation, you will be notified on the bottom of the window to quit Cura and restart it. Just do so to complete the installation!

Plugin package
During the development of plugins, plugin packages are often shared to the Cura community for testing. These files have normally the extension *.curapackage (Cura >= 3.3) or *.curaplugin for Cura < 3.3). They include general info about the distributor and the application data, too.
During these instructions I will use the FreeCAD plugin as an example. But these instructions generally apply to every manual plugin installation.
- Download the plugin as you wish. Make sure that the package fits to your version of Cura. In my case the Cura packages include the version in the filename.
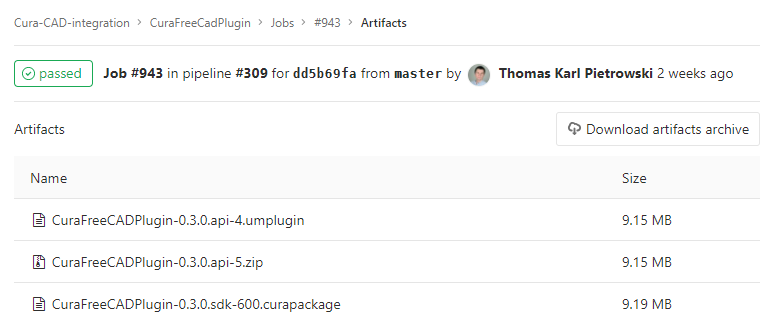
- The following table will tell you which Cura version fits to which API/SDK version and how the suffix is called in the filename.
| Cura version | API/SDK version | Filename suffix |
| 4.1.0 | SDK 6.1.0 | sdk-610 (curapackage) |
| 4.0.0 | SDK 6.0.0 | sdk-600 (curapackage) |
| 3.6 | API 5 | api-5 (curapackage) |
| 2.7 | API 4 | api-4 (curaplugin) |
- As soon as you are sure that you downloaded the right package, drag and drop the Cura package into Cura’s window.
- You should get a notification, that the plugin is going to be installed upon the next start of Cura.
- Close Cura and start it again. After that, you should be able to find the plugin in the marketplace. If the plugin was broken before, you might want to double-check there, whether the plugins is not disabled.